Sugar & Spice by Radhika

Menu
  • Home
  • Recipe Index
  • Tips & DIY
  • How-to-Blog Series
  • About
    • Meet Radhika
    • FAQs
    • Contact

DIY Cute Carry Box

June 2, 2015 By Radhika Malhotra 4 Comments

Learn to make cute little carry boxes for your baked goodies or candies with nothing but a paper glass and a pair of scissor.
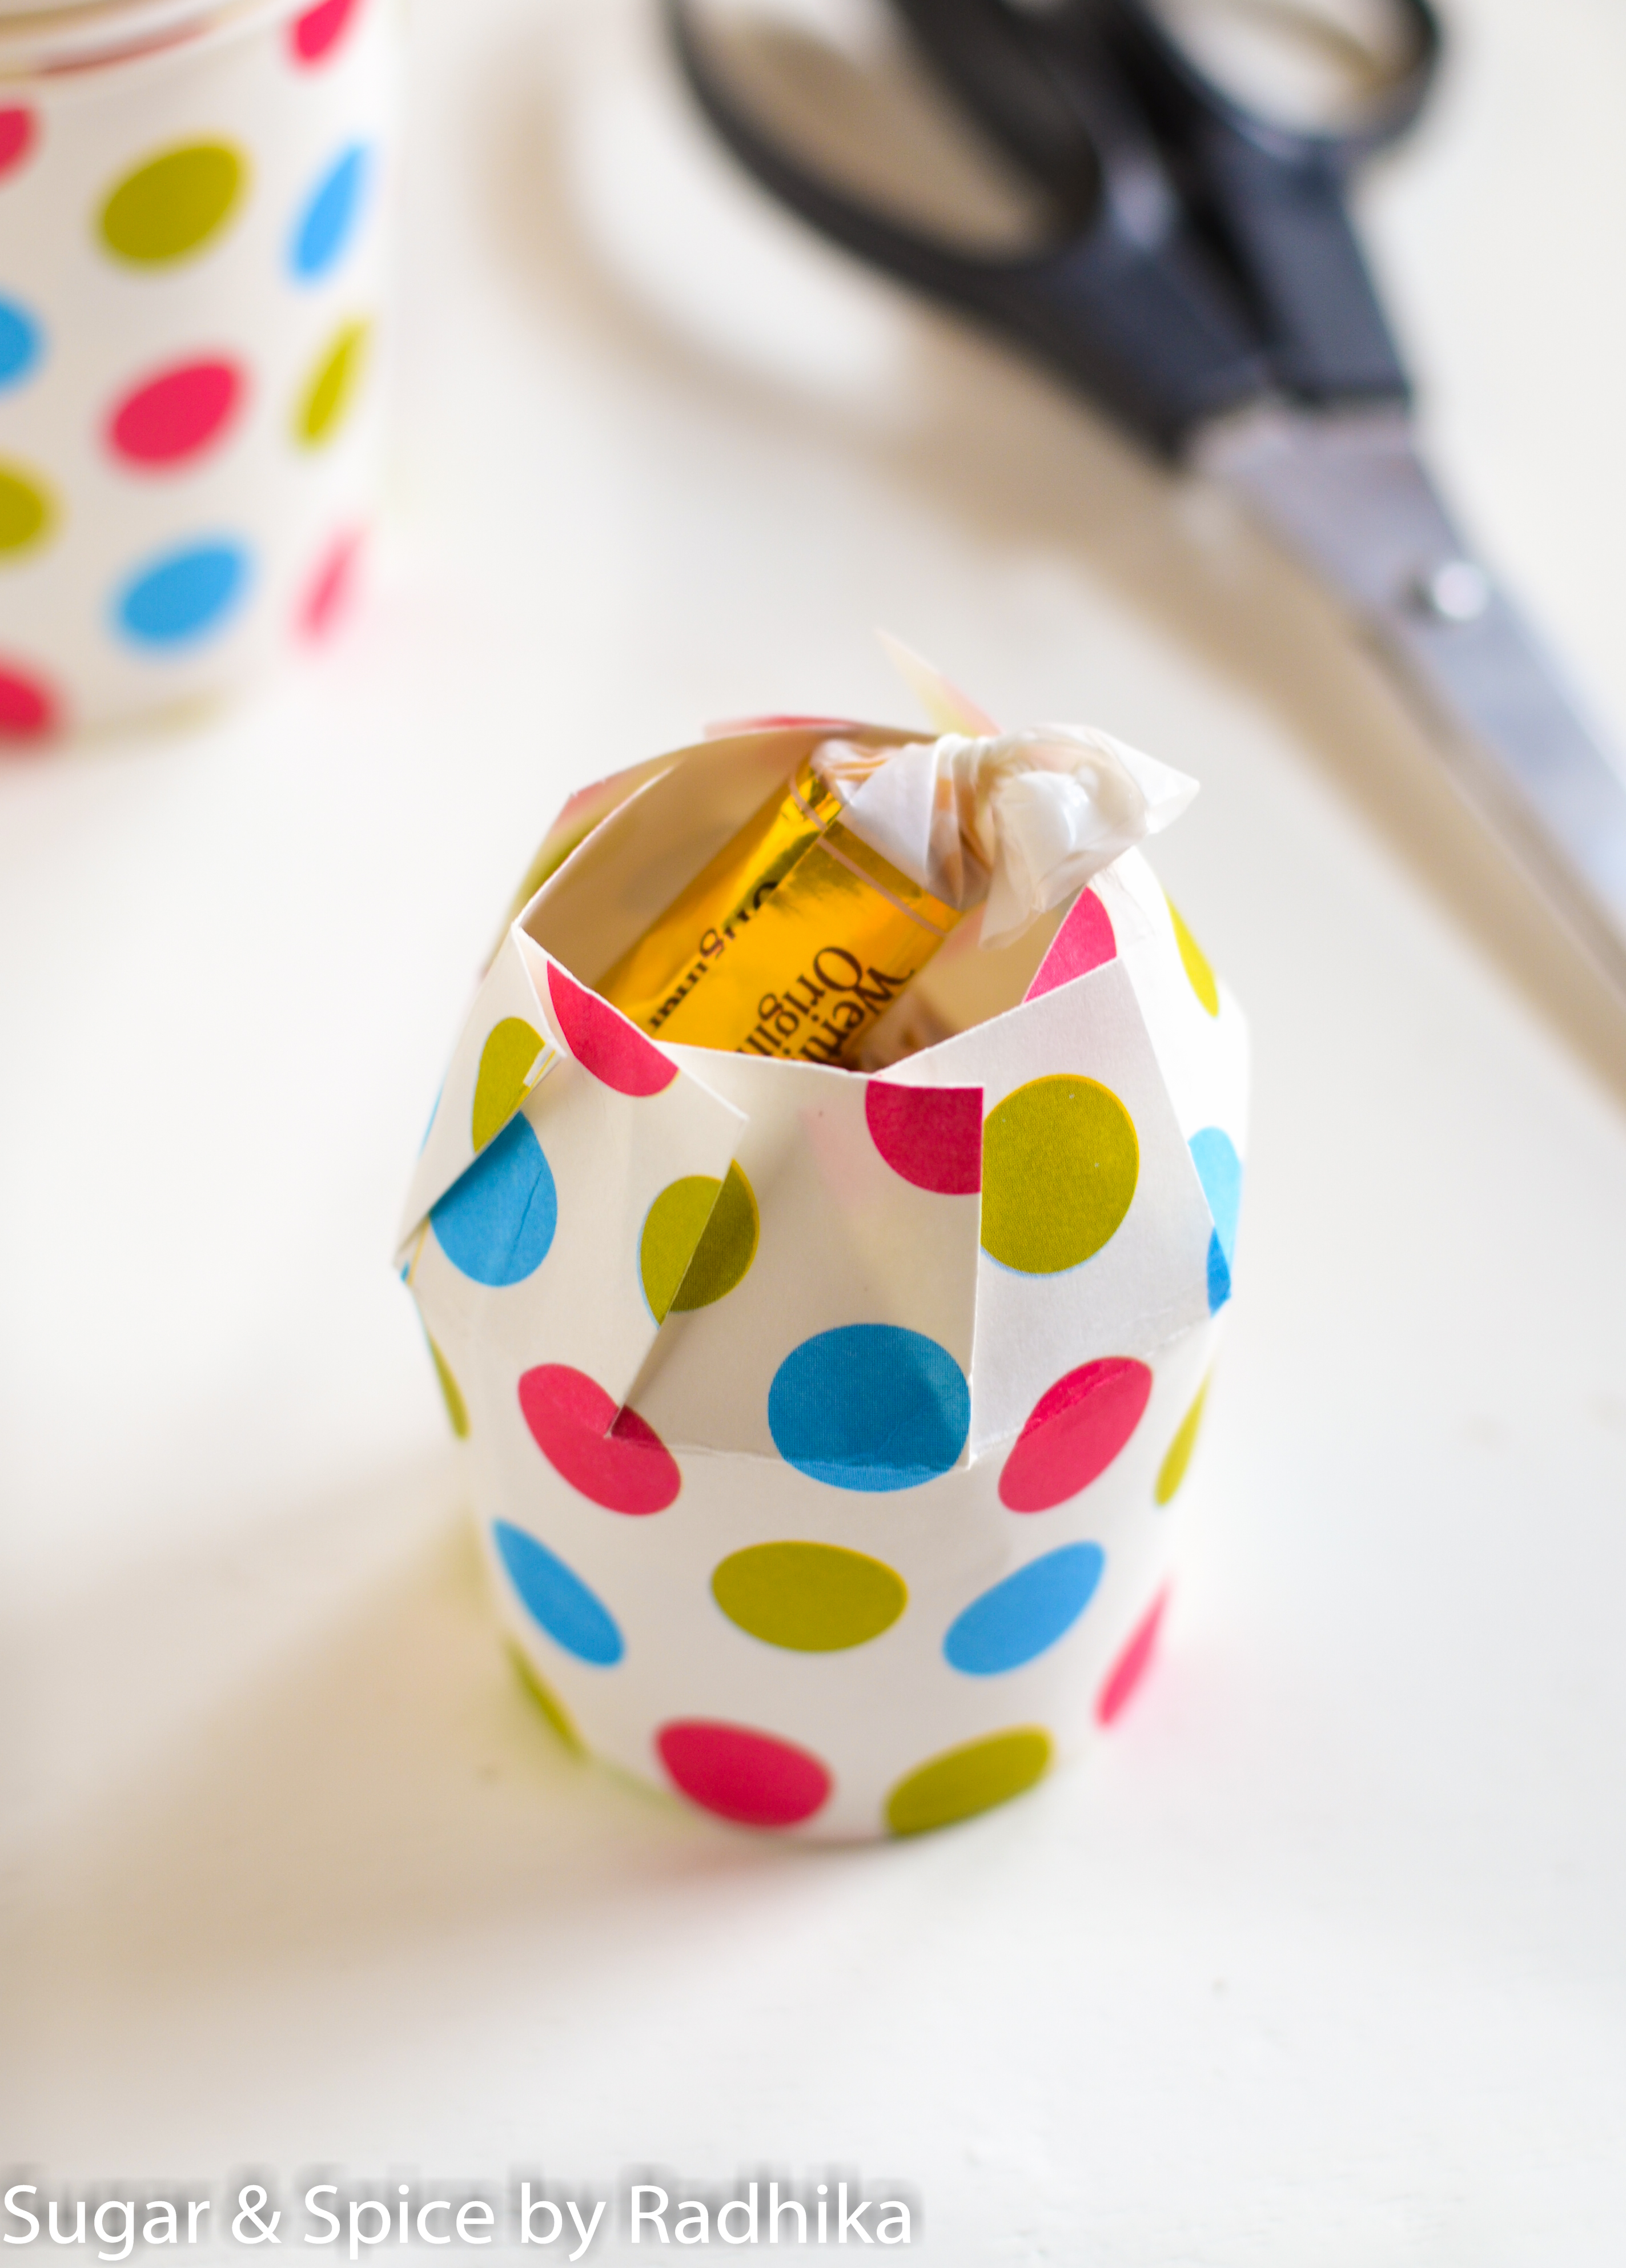
DIY Cute Carry Boxes

I came across this cute idea on Pinterest and instantly fell in love with it! Just what you need to carry your baked goodies or candies. These cute little carry boxes are really simple to make and look absolutely stunning!

WHAT DO YOU NEED?

  • A pair of scissors
  • Cute paper glasses

Here’s what you need to do to make these adorable carry boxes.

STEP 1: 

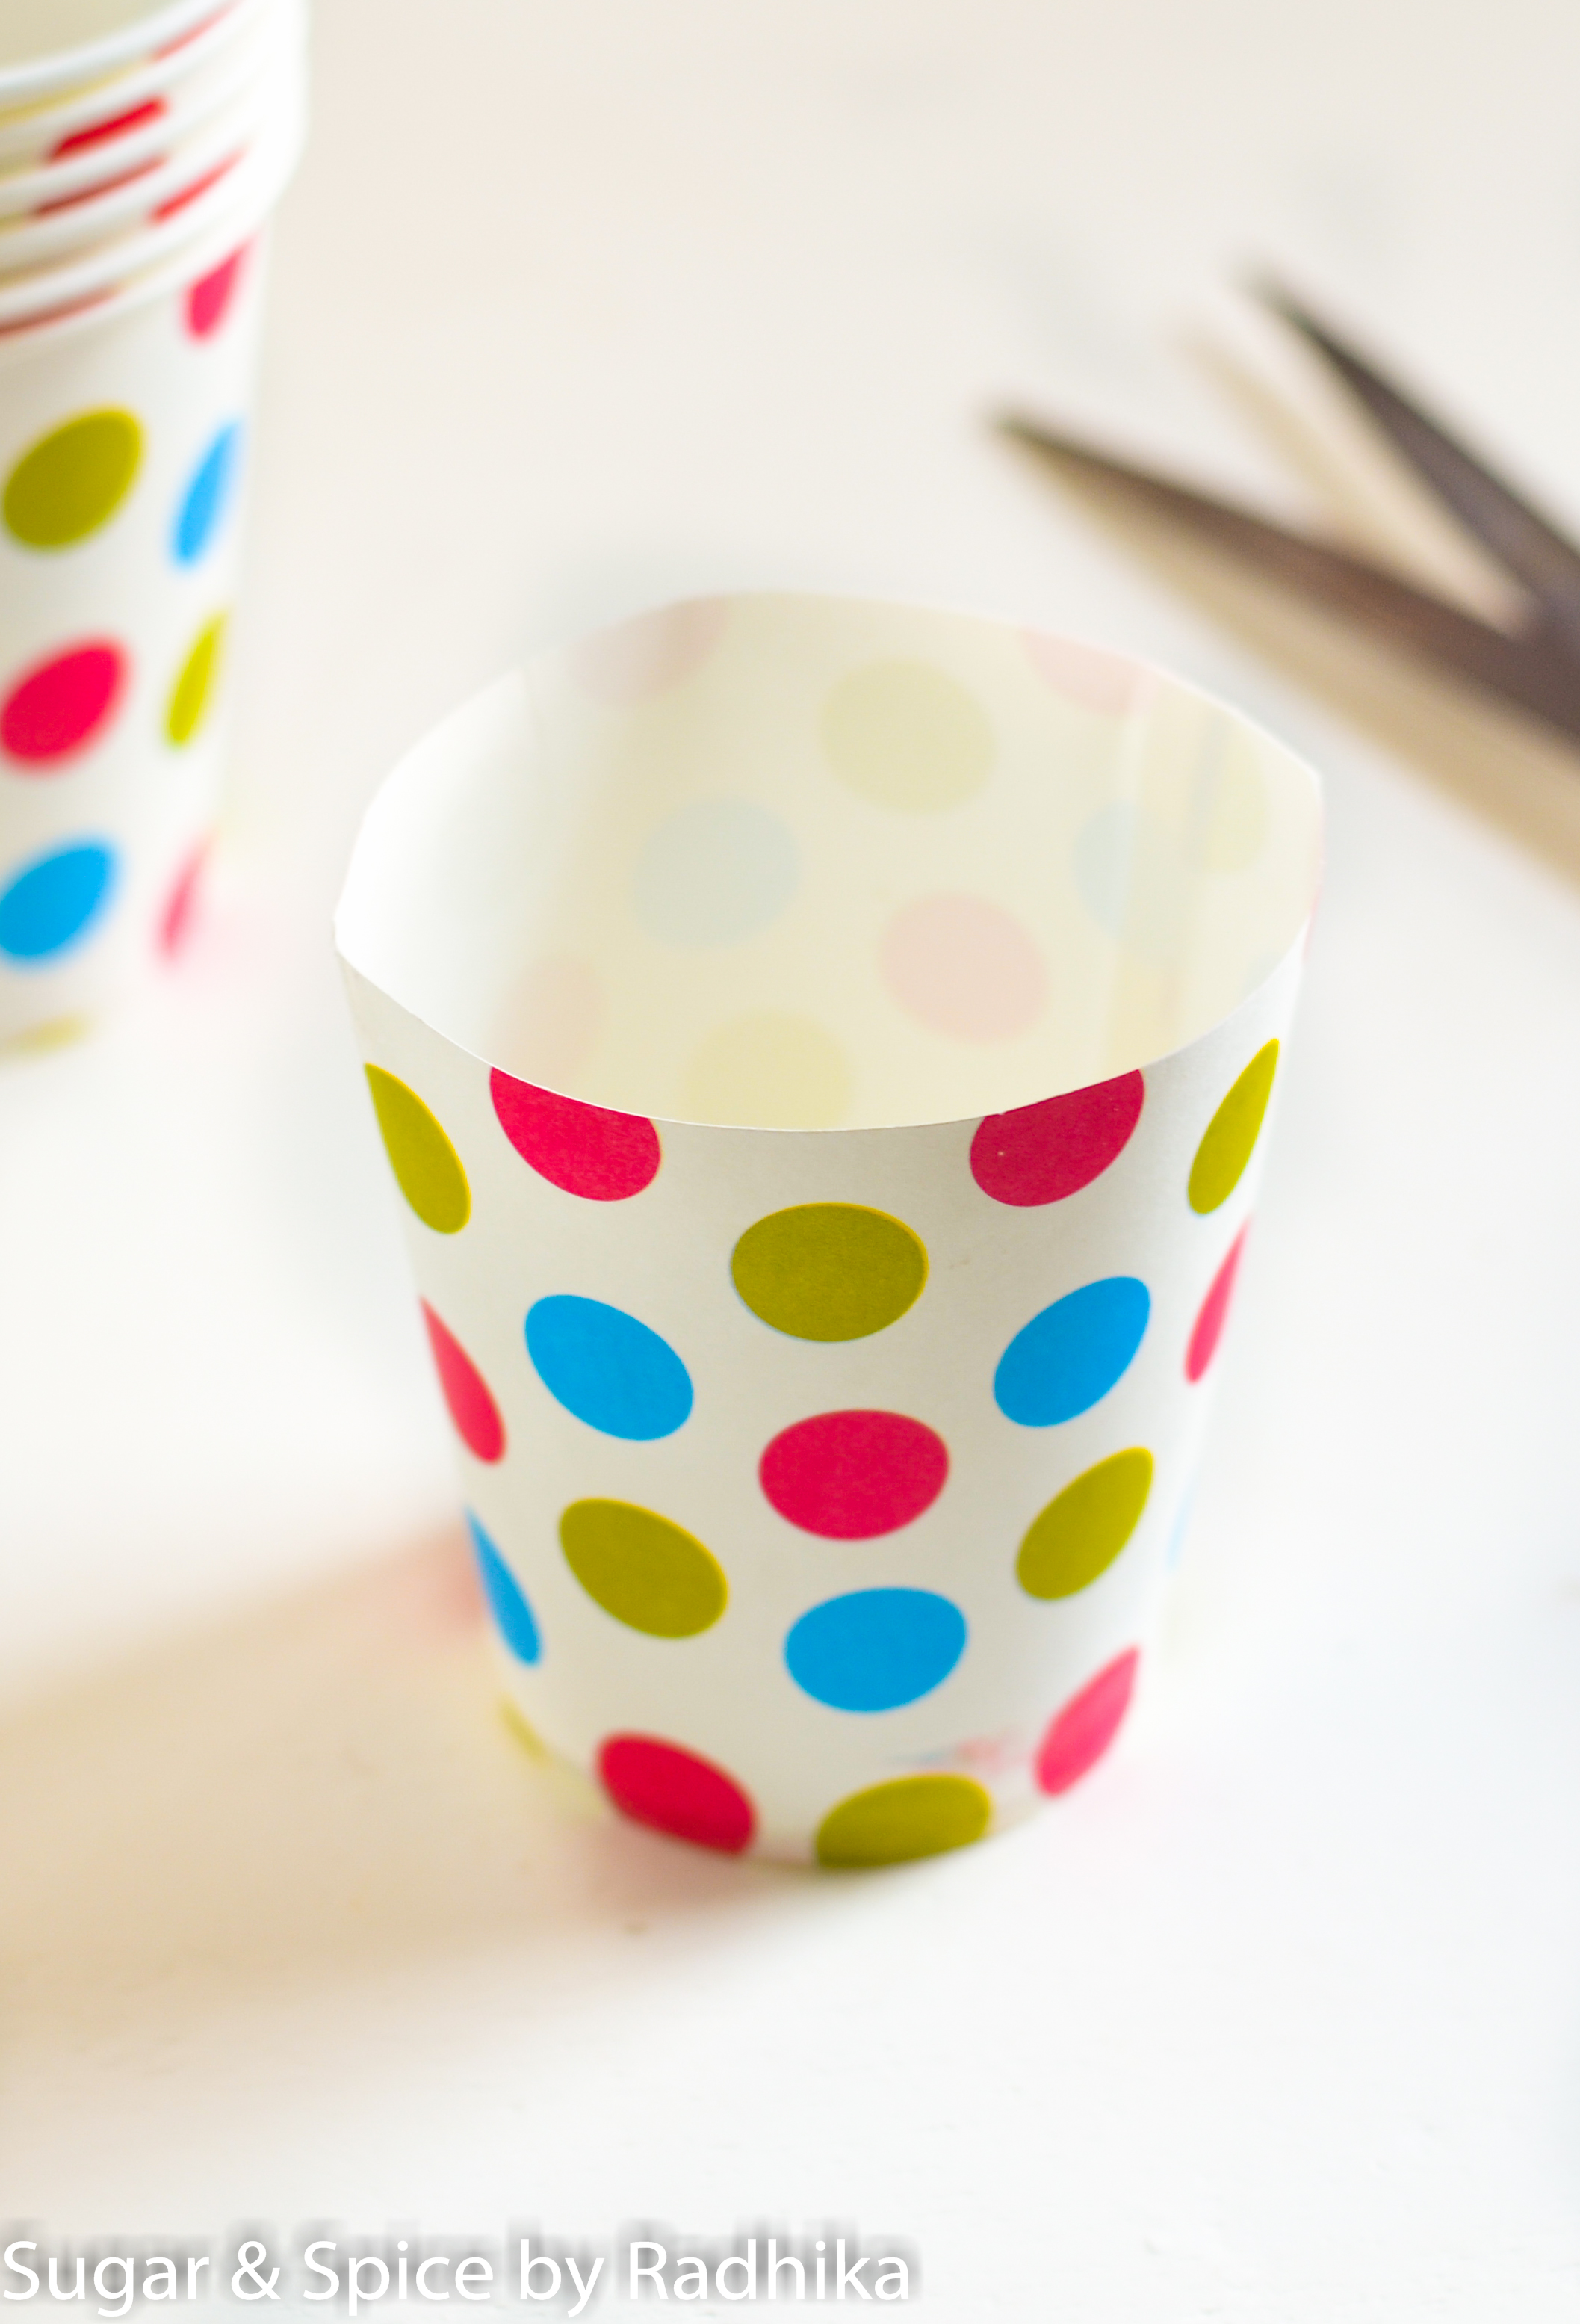
Take a paper glass with colorful prints to make these carry boxes extra cute. Head over to your nearest party prop shop and get them. I made these carry boxes using small glasses but you can easily use this same tutorial to make carry boxes out of bigger glasses.
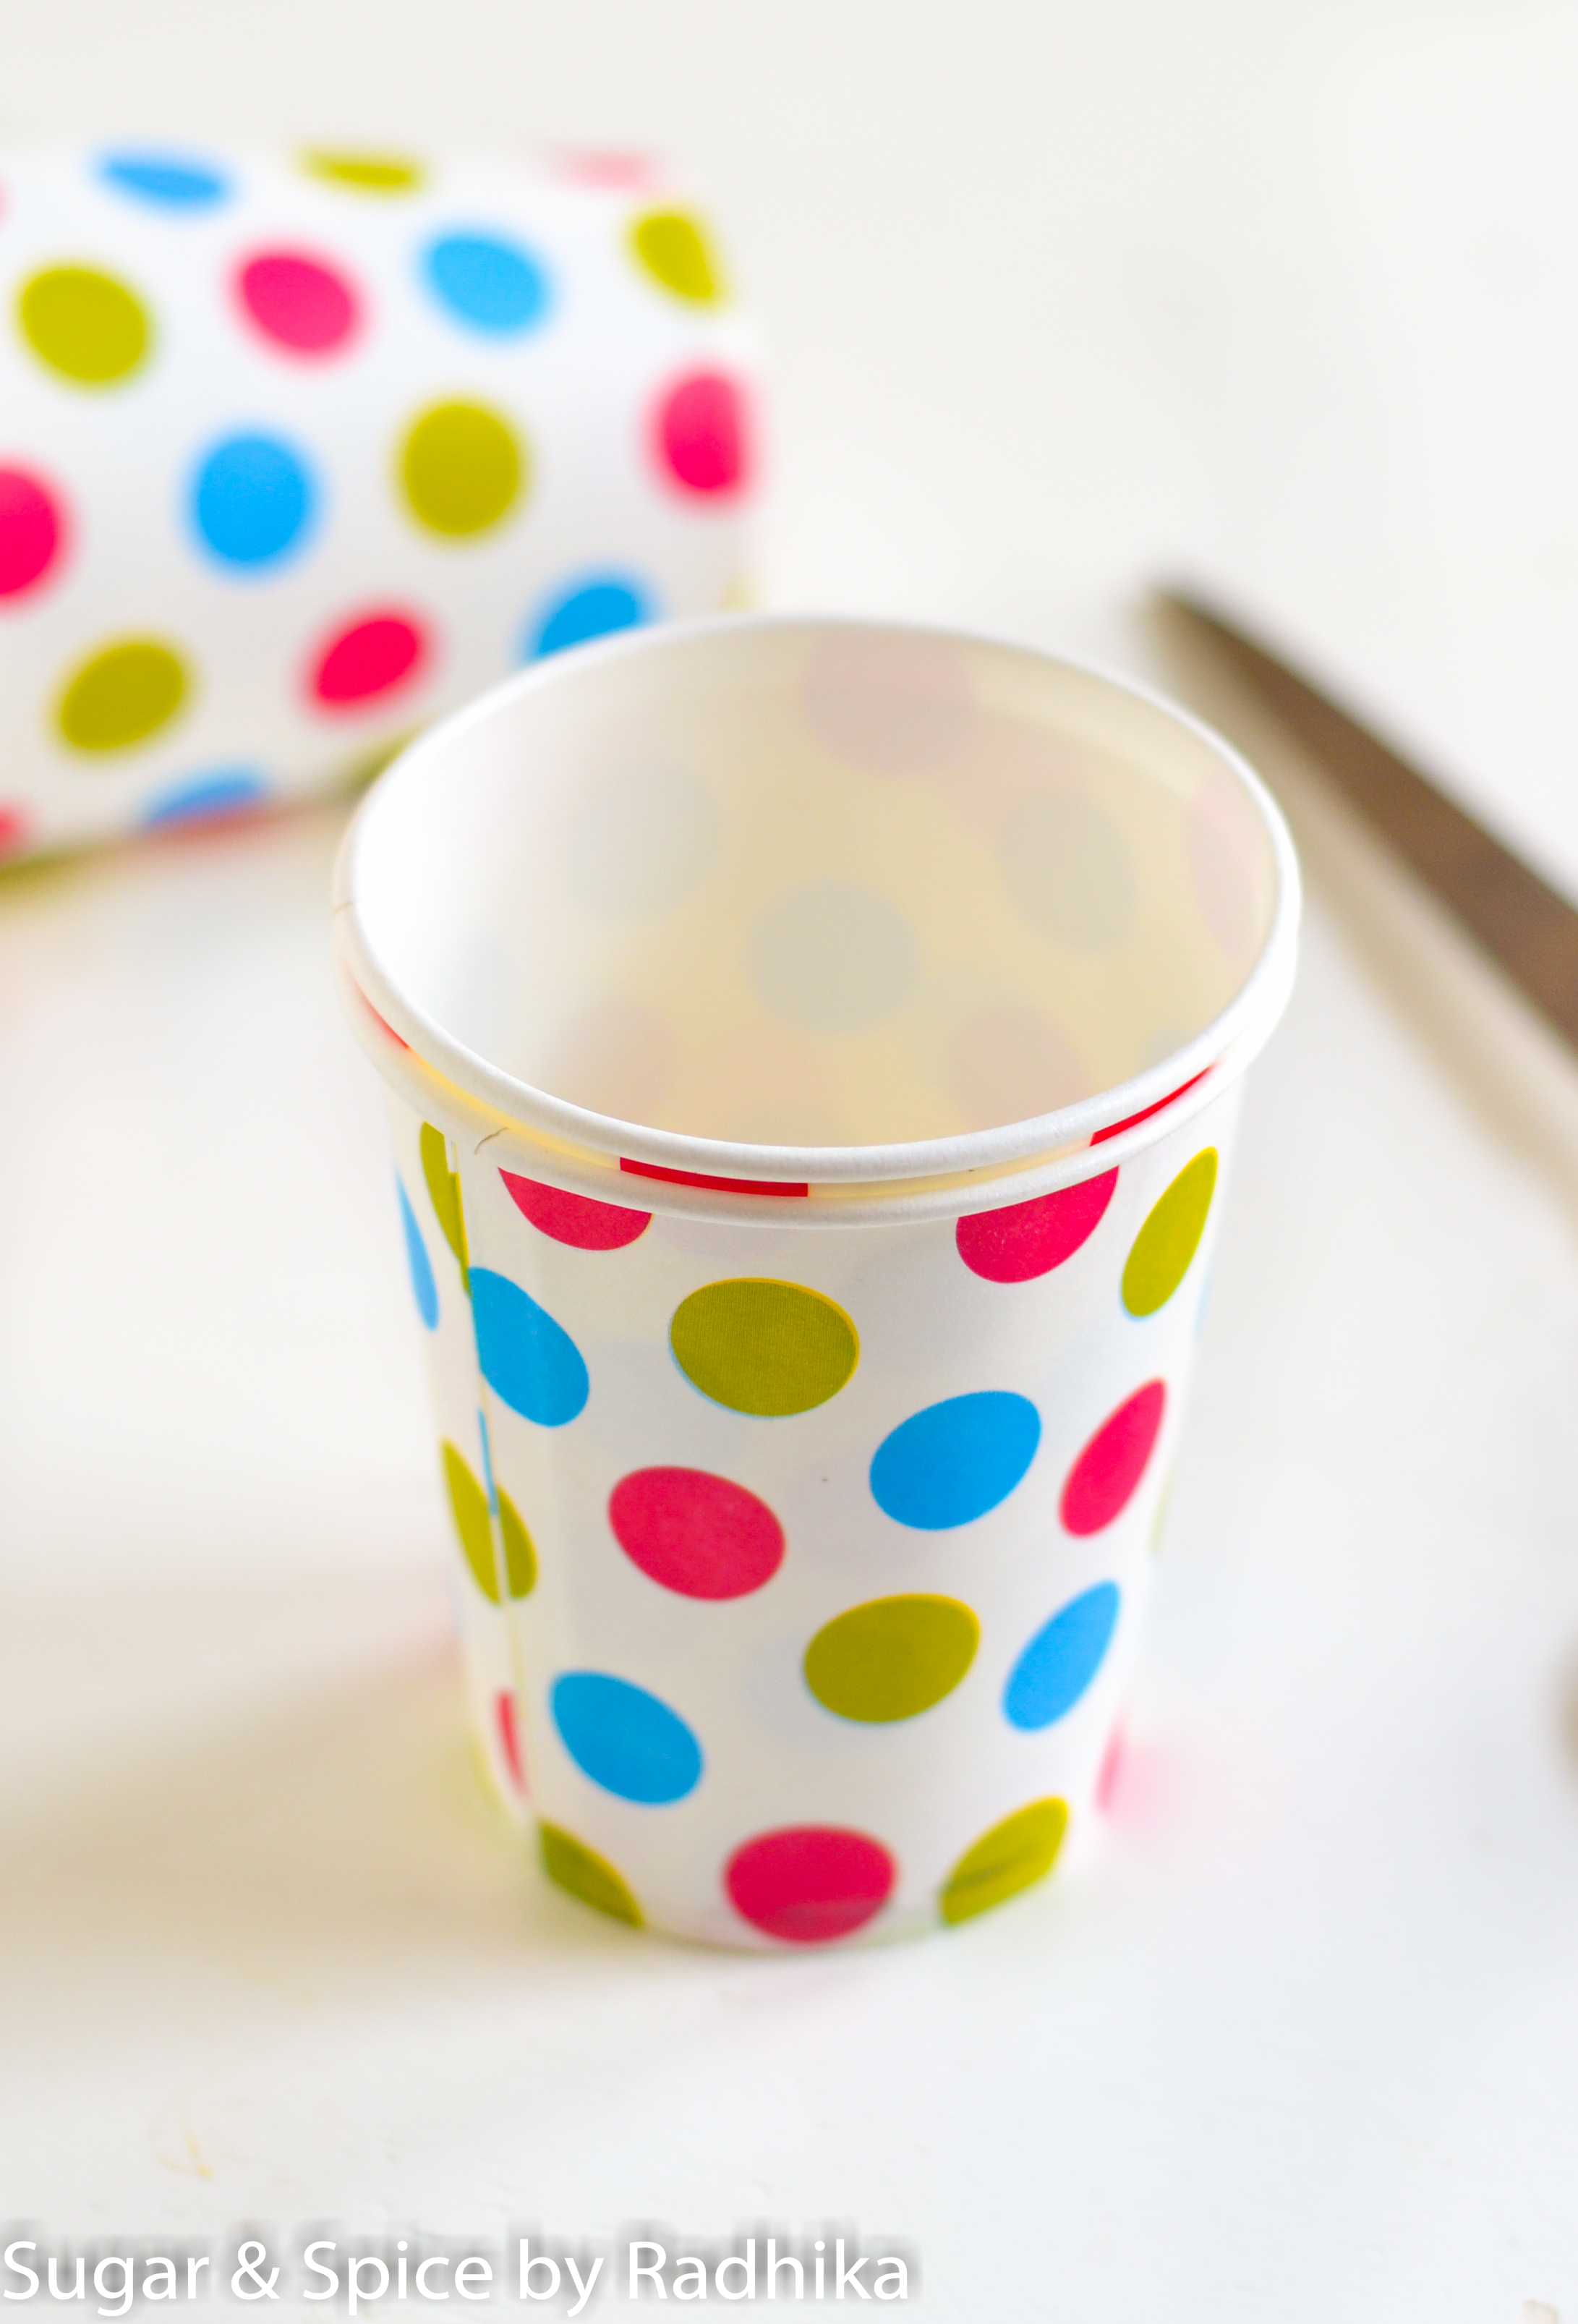
DIY Cute Carry Boxes

STEP 2:

Cute the rim of the glass using a pair of scissors like in the picture below.
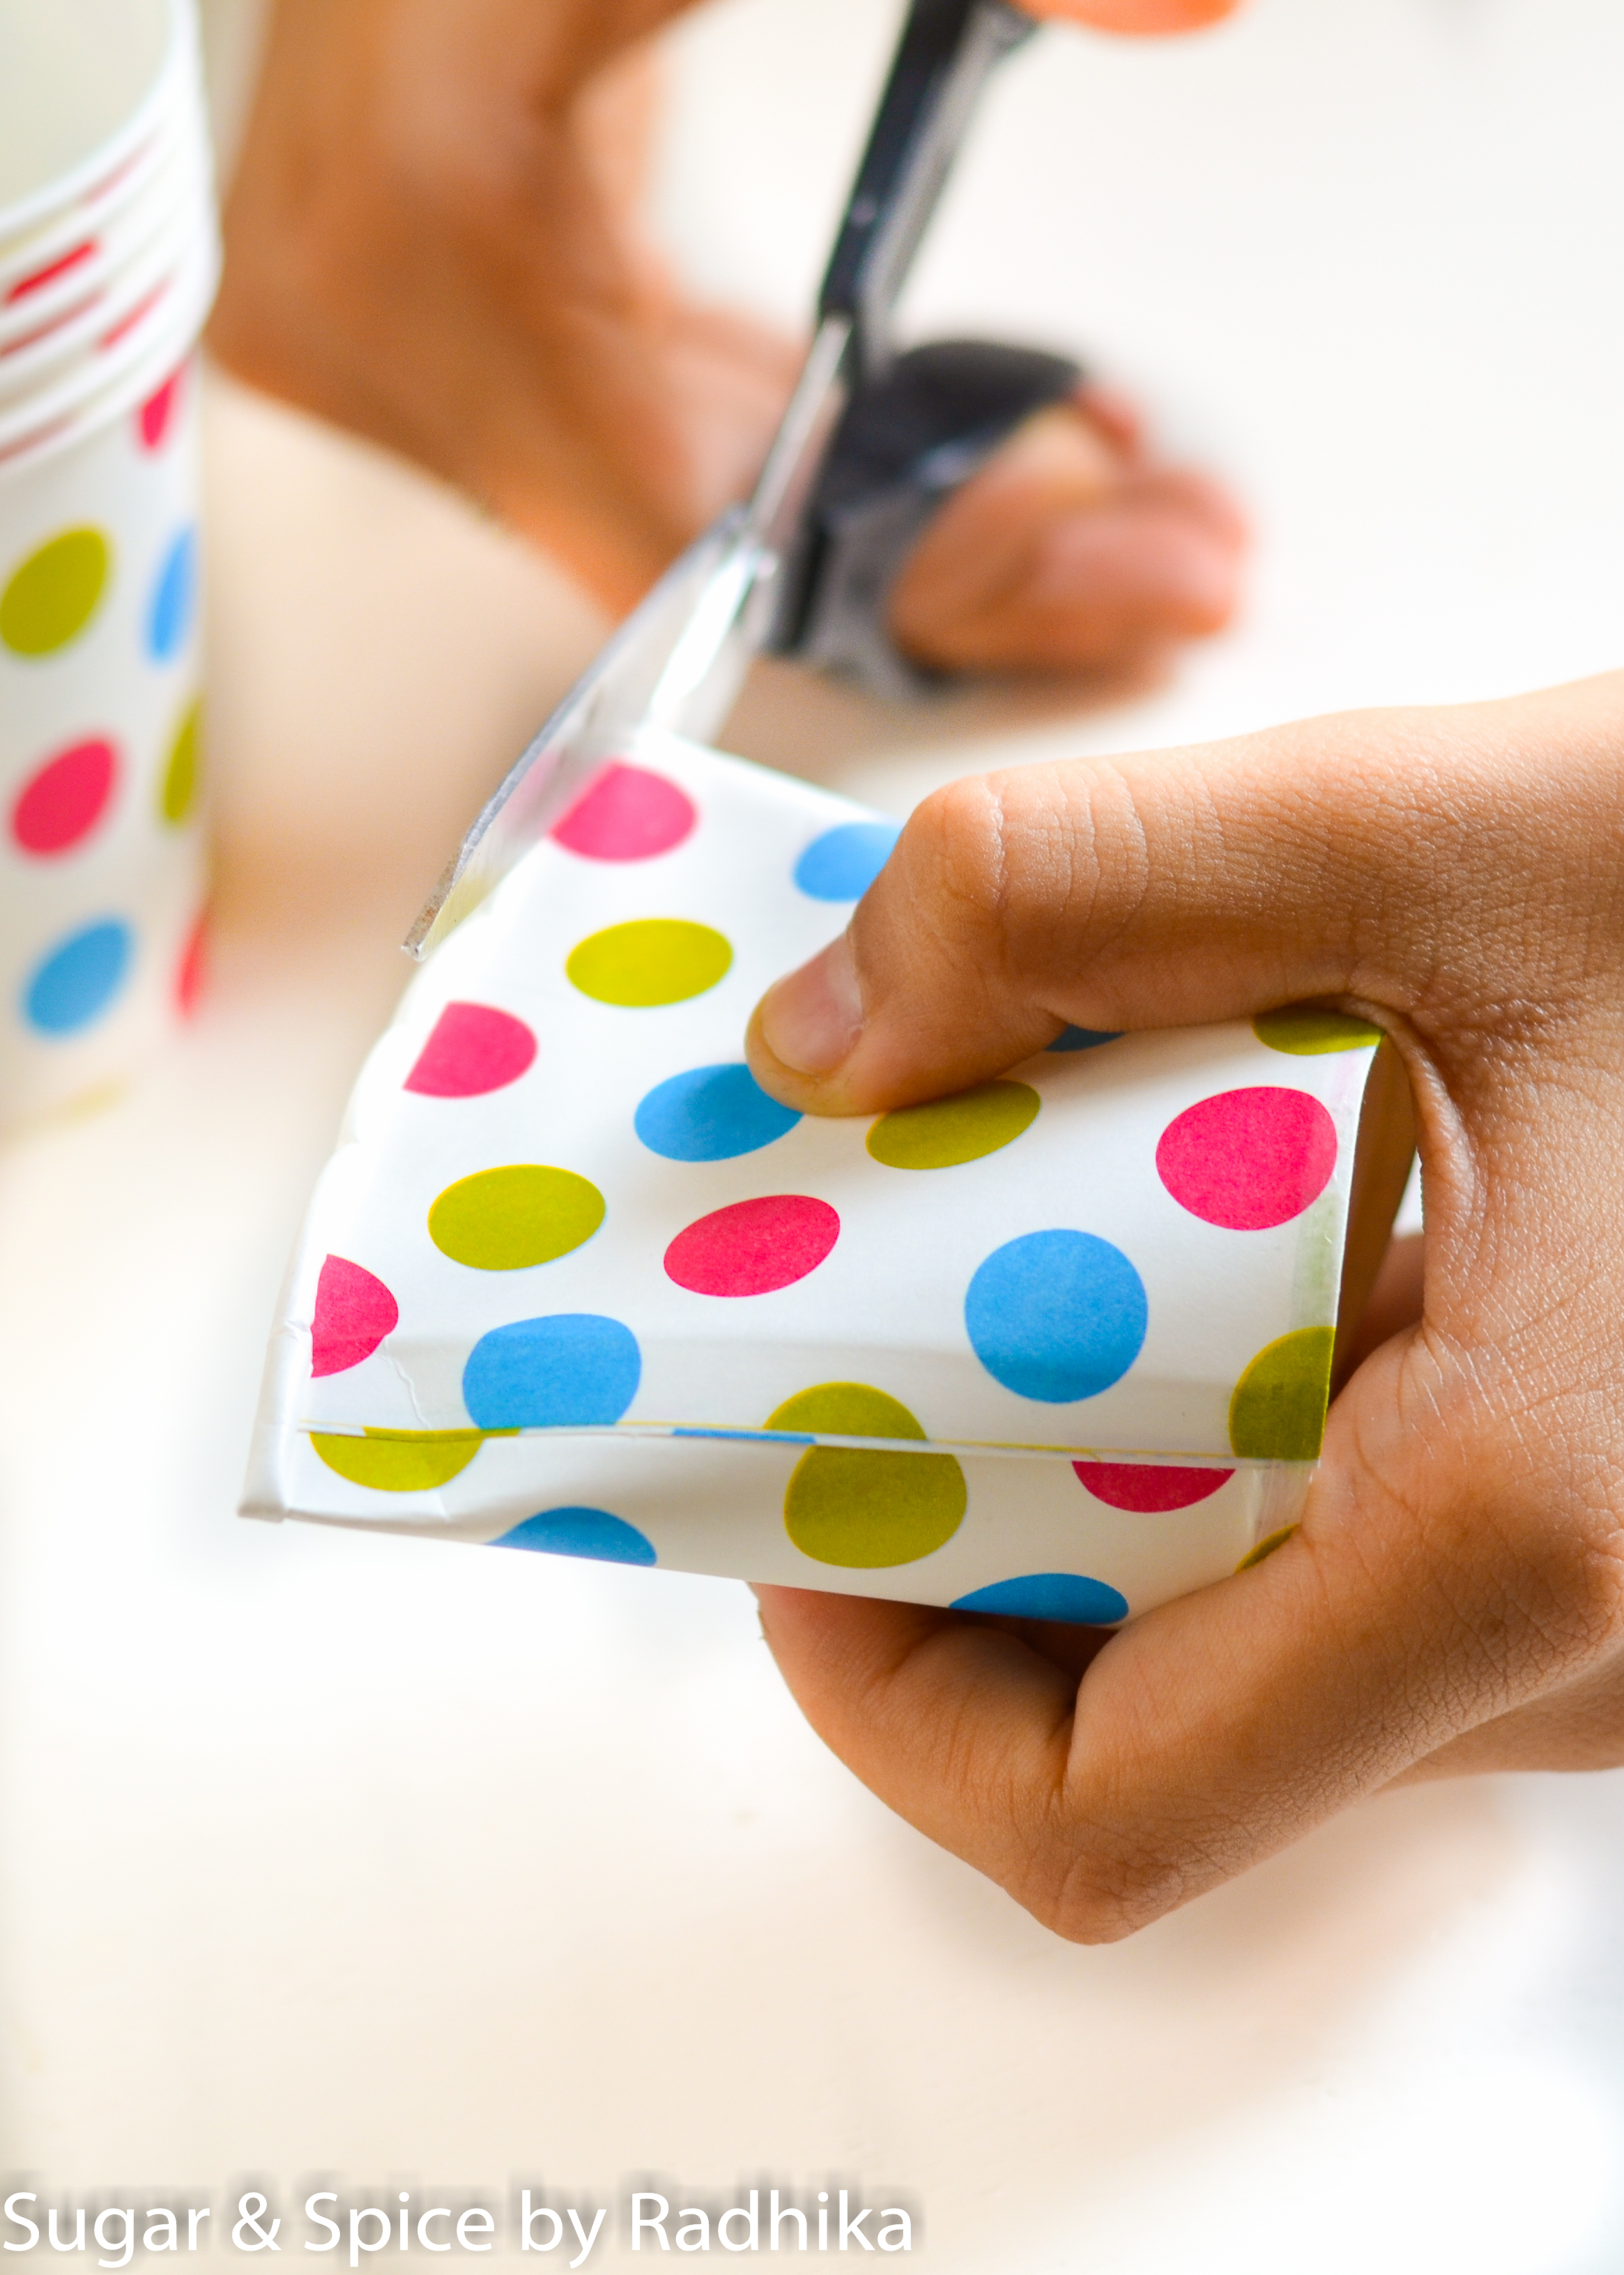
DIY Cute Carry Boxes

DIY Cute Carry Boxes

STEP 3: 

Once you’ve cut off the rim, make vertical cuts on the sides of the glass. The cuts should be equal to the radius of the glass (from the top). You don’t need a scale for this, just use your eyes and get an idea. If the radius of the rim is about 1.5 inches that’s how long one cut should be.

Make as many as 8 cuts on equal distance from each other. I used a glass with an approximate diameter of 3 inches but if you’re using a bigger glass make upto 10-11 cuts. More cuts = Better looking top.DIY Cute Carry Boxes
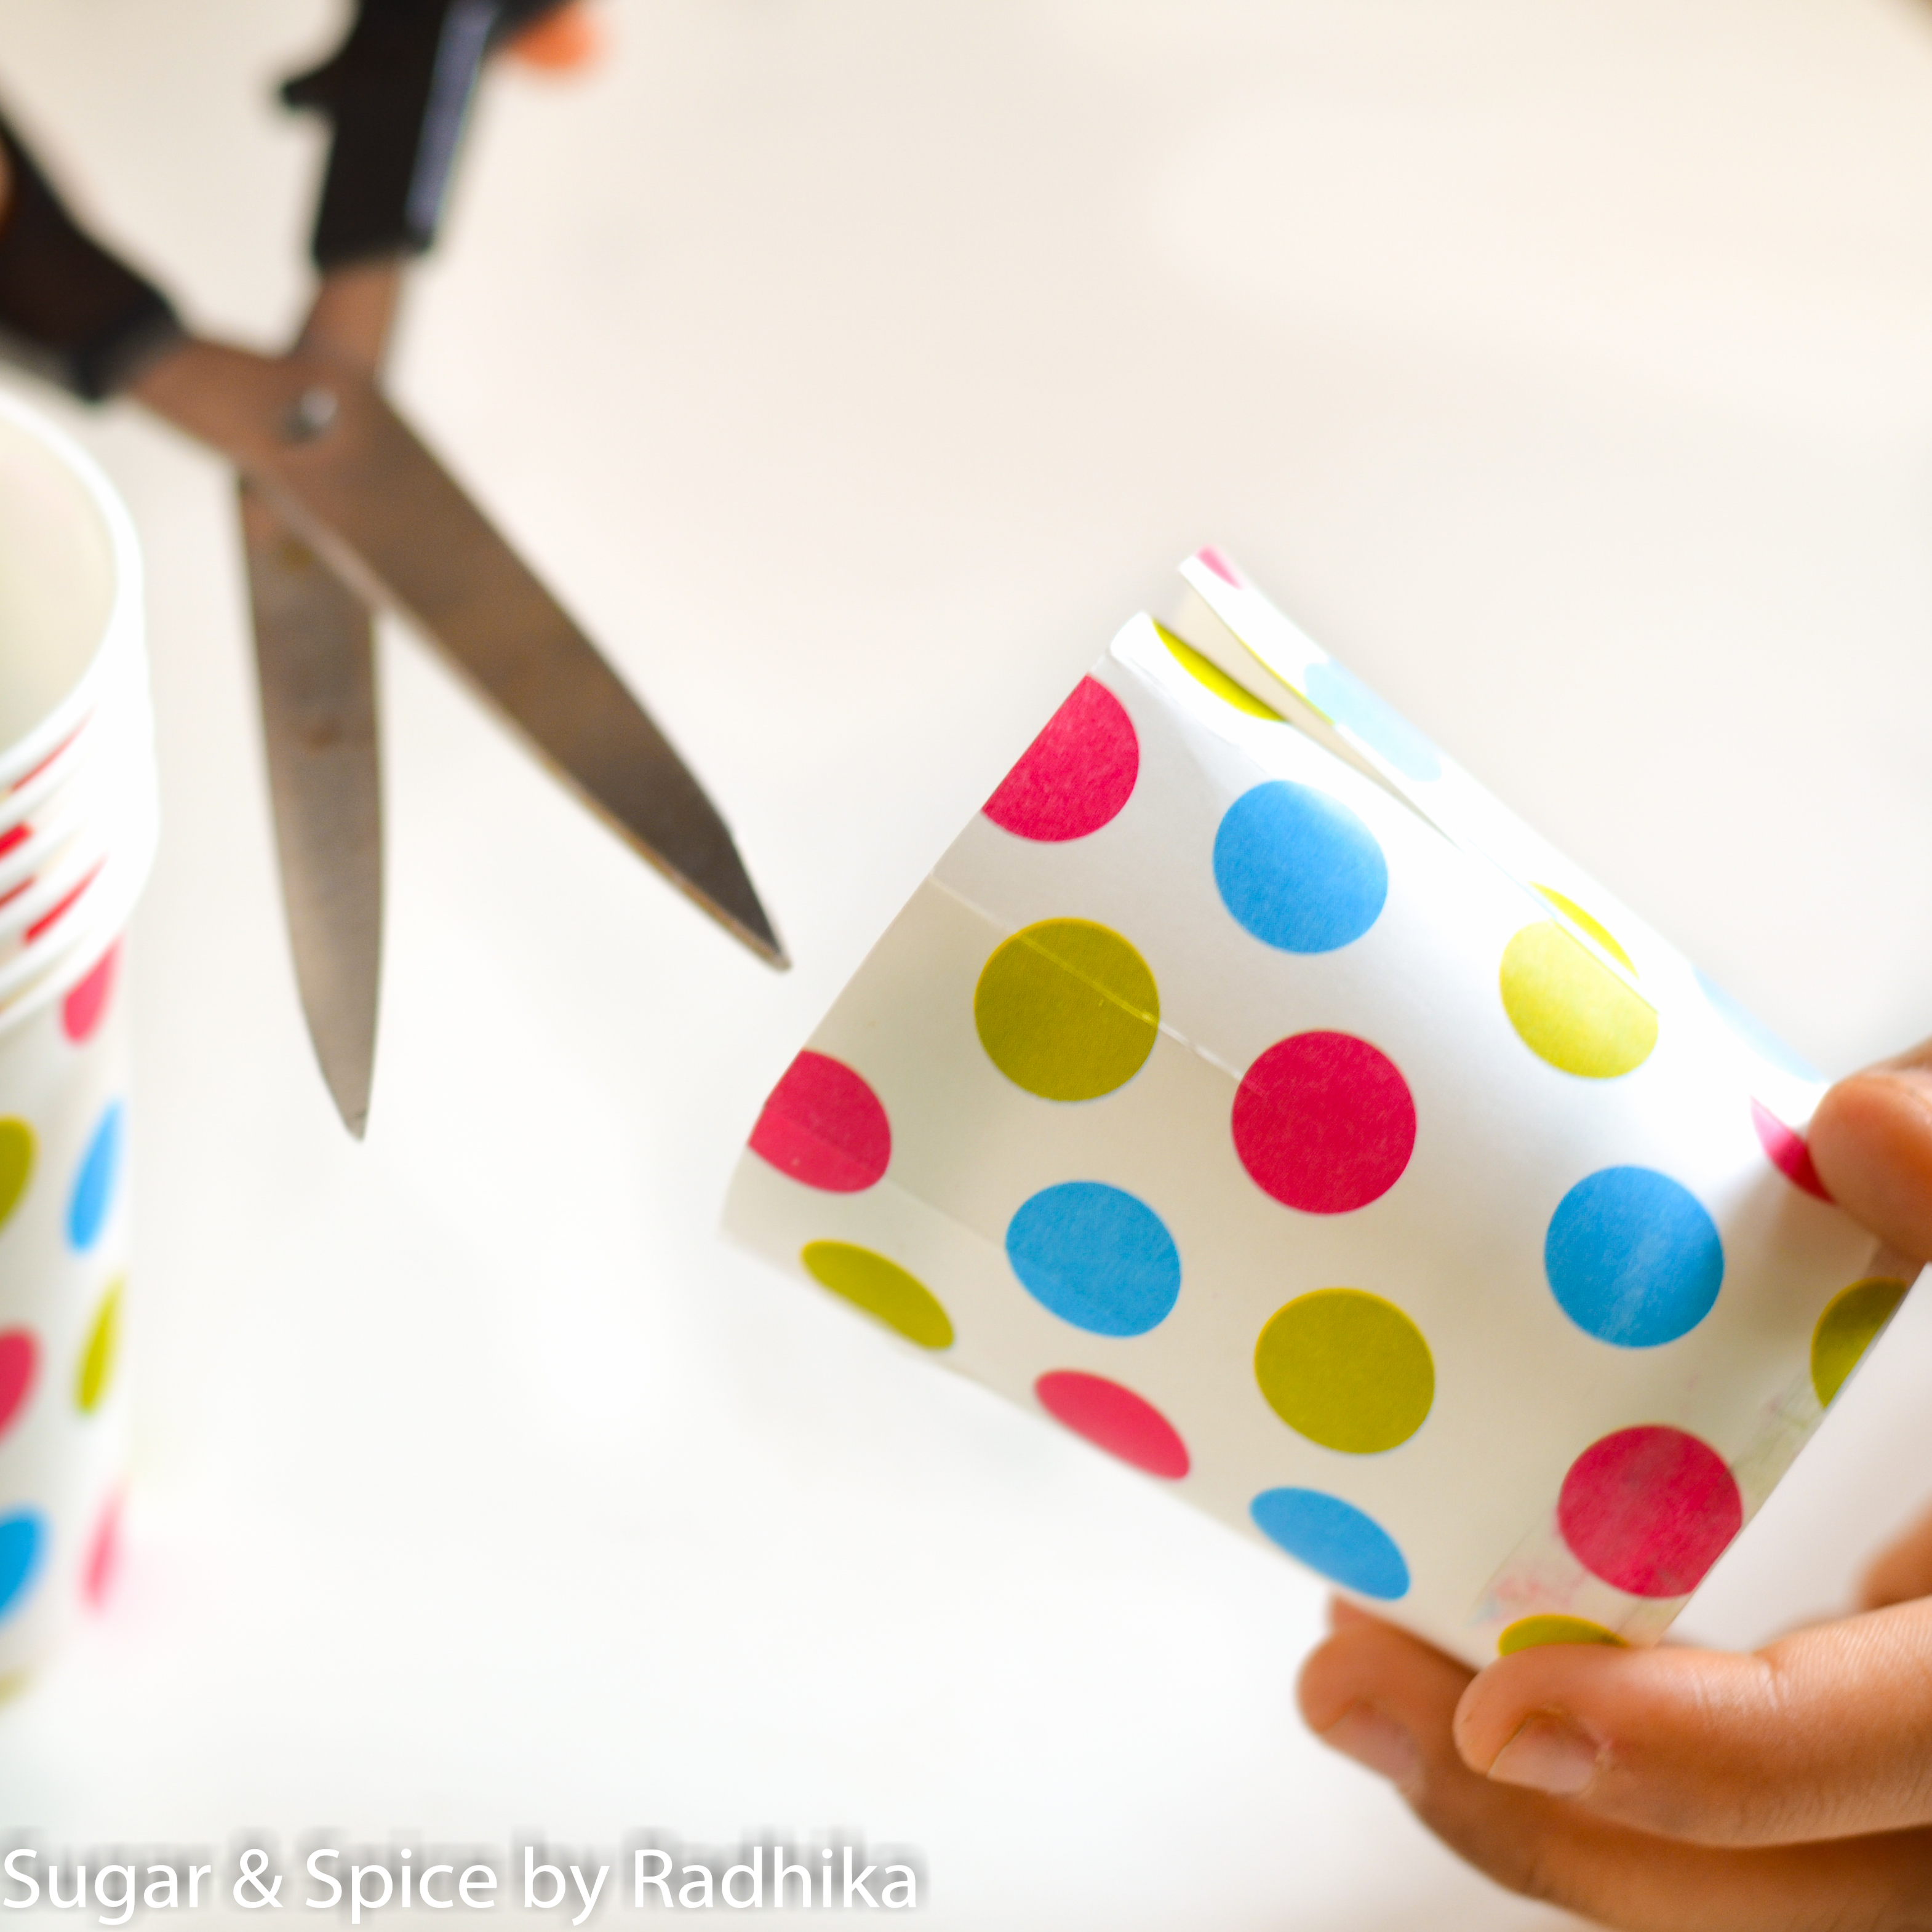
STEP 4:

Fold the cut towards the inside of the glass and overlap them onto each other. You’ll notice a pattern forming without much effort.
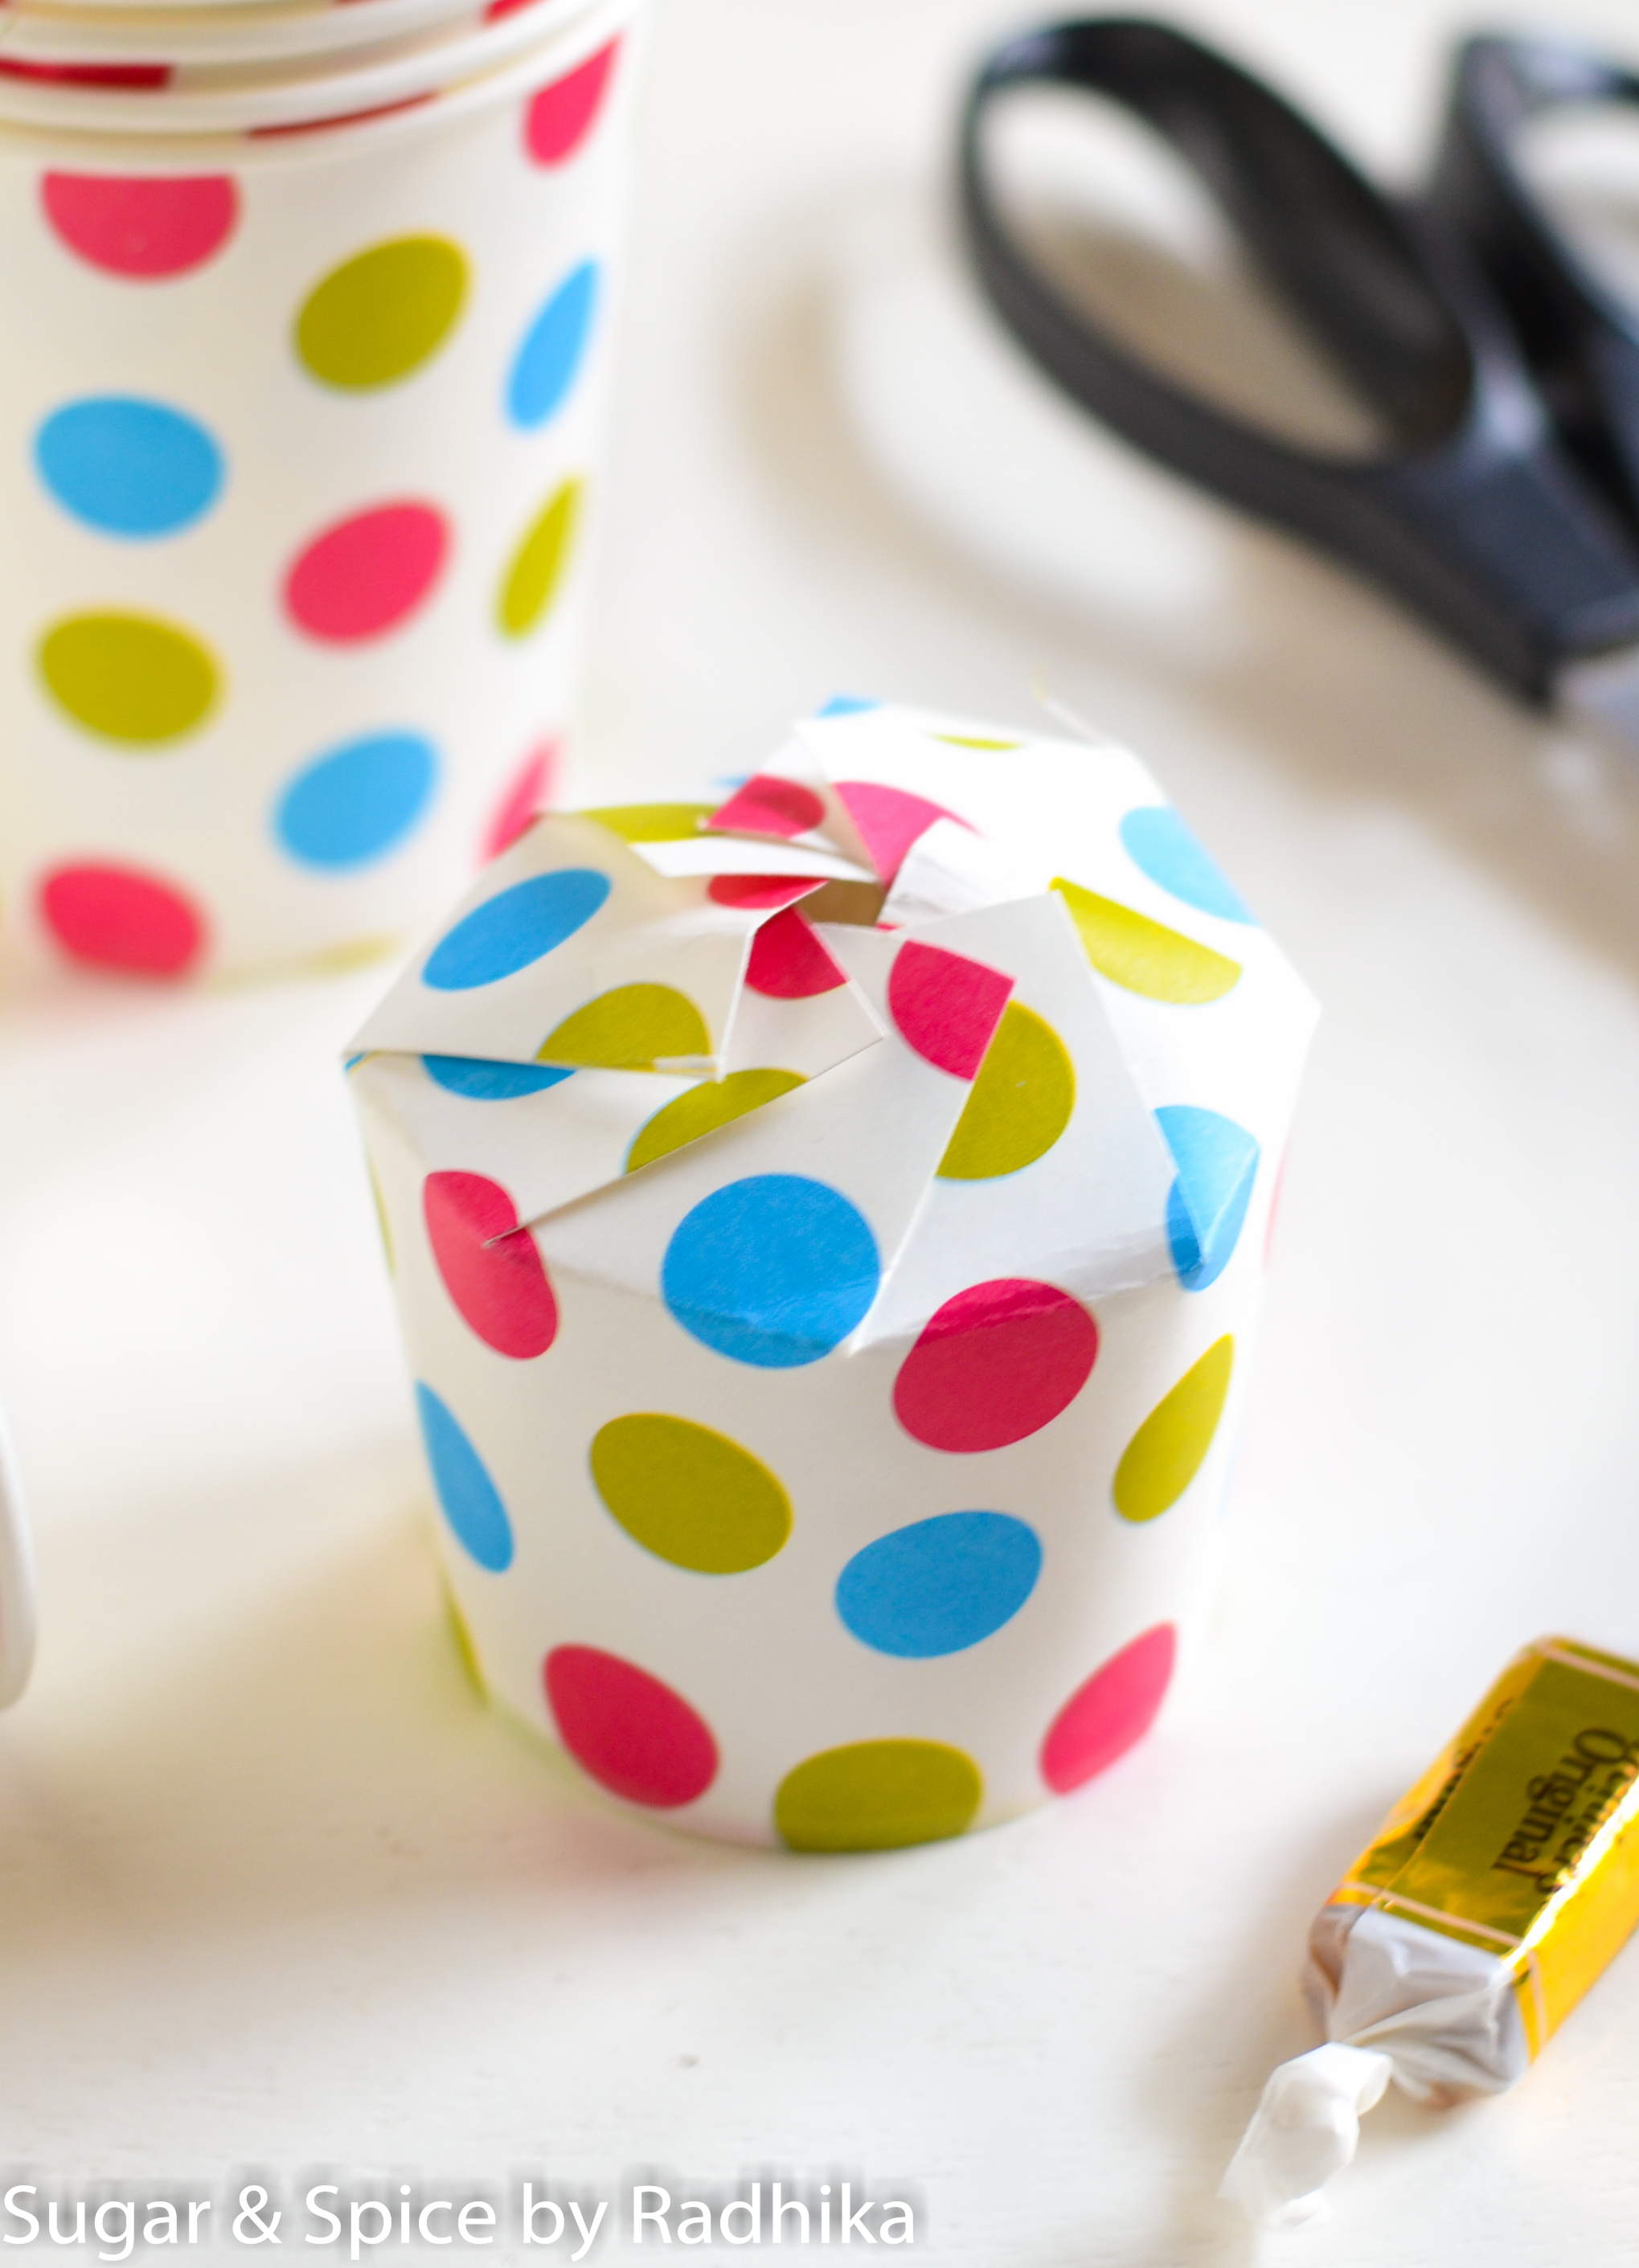
DIY Cute Carry Boxes

STEP 5:

Just fill your carry box with your favourite goodies and gift them to people! And done!

DIY Cute Carry Boxes


FOR MORE FABULOUS DIY IDEAS GO HERE.

Share this:

  • Click to email a link to a friend (Opens in new window) Email
  • Click to share on Facebook (Opens in new window) Facebook
  • Click to share on Pinterest (Opens in new window) Pinterest
  • Click to share on X (Opens in new window) X
  • Click to share on LinkedIn (Opens in new window) LinkedIn
  • Click to print (Opens in new window) Print

Related Posts:

  • How to Decorate Cupcake Liners at Home (Easy)
  • DIY Homemade Pasta
  • Piñata Cupcakes (VIDEO)
  • DIY Muffin Liners
  • Frozen Strawberry Daiquiri
  • How To Start Your Own Blog (Part 1)

Filed Under: Tips & DIY Tagged With: diy

« No-Bake Salted Caramel Chocolate Oreo Tart
Cheesy Stuffed Mushrooms »

Comments

  1. gaya111087@gmail.com'Gayatri says

    June 2, 2015 at 11:07 am

    OMG this might be the cutest thing I see all week! Love it 🙂

    Reply
    • Radhika Malhotra says

      June 2, 2015 at 11:10 am

      Thank you so much Gayatri!! <3 Love that they're cute but easy to make! 🙂

      Reply
  2. happyandharried@gmail.com'Anjana {At The Corner Of Happy And Harried} says

    June 2, 2015 at 11:27 pm

    Such a cute project!!

    Reply
    • Radhika Malhotra says

      June 2, 2015 at 11:32 pm

      Thanks Anjana! 🙂

      Reply

Leave a Reply Cancel reply

Your email address will not be published. Required fields are marked *

Connect with me!

  • Facebook
  • Instagram
  • Pinterest
  • Twitter

About Me

Hi! I'm Radhika and I live in New Delhi, India. I love to make good food and make food look good. Read more...

Hey there!

To receive recipes directly in your inbox, subscribe here.

Search

Search by Category

Instagram

Instagram did not return a 200.

Copyright © 2026 · SUGAR & SPICE BY RADHIKA